Following on from Cecilia’s accounts of creating her handspun yarn using locally made tools and locally grown materials, we thought you might enjoy this post, previously published on The Domestic Soundscape blog, which celebrates some of the wooden tools employed by hand-spinners, and the wood workers who make them. If you like this story, you may also enjoy the piece about Walter’s shepherding crook which Rachael Matthews wrote, and which was featured on the WOVEMBER blog last year… these are the tools which we use for Working with Wool…
A few weeks ago when I was staying with Brenda and Tonia, we went to a car boot sale together in Wales, and I saw this.
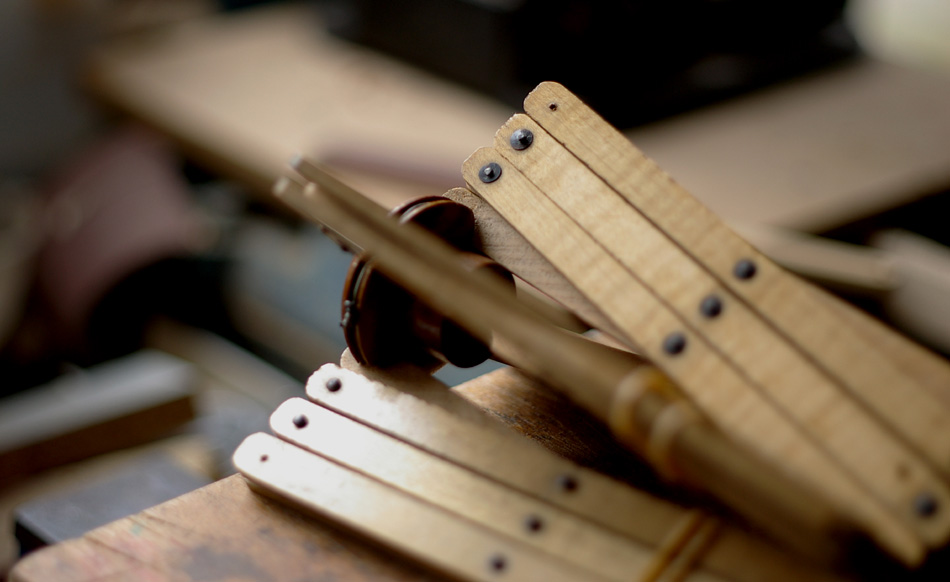
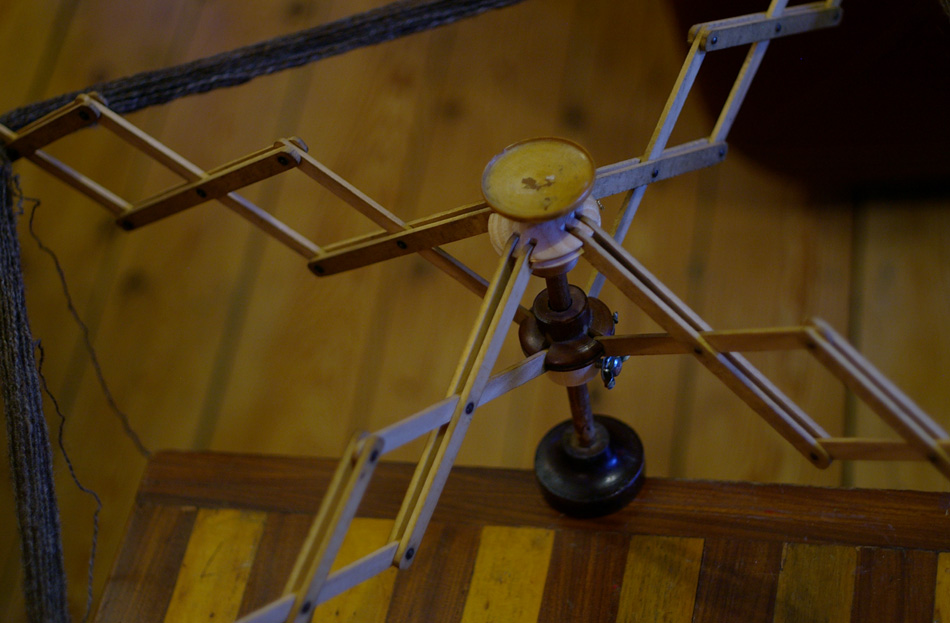
It is a vintage swift. This is a device which expands to whatever size your skein of yarn is, and allows you to draw the yarn out from the skein under tension, and turn it into a ball of yarn from which you can then knit. I was thrilled to find this beautiful, useful, wooden thing with its own story and past, and I couldn’t wait to get it home and start winding skeins from it! However I soon realised that one of the pieces integral to the whole object was broken.
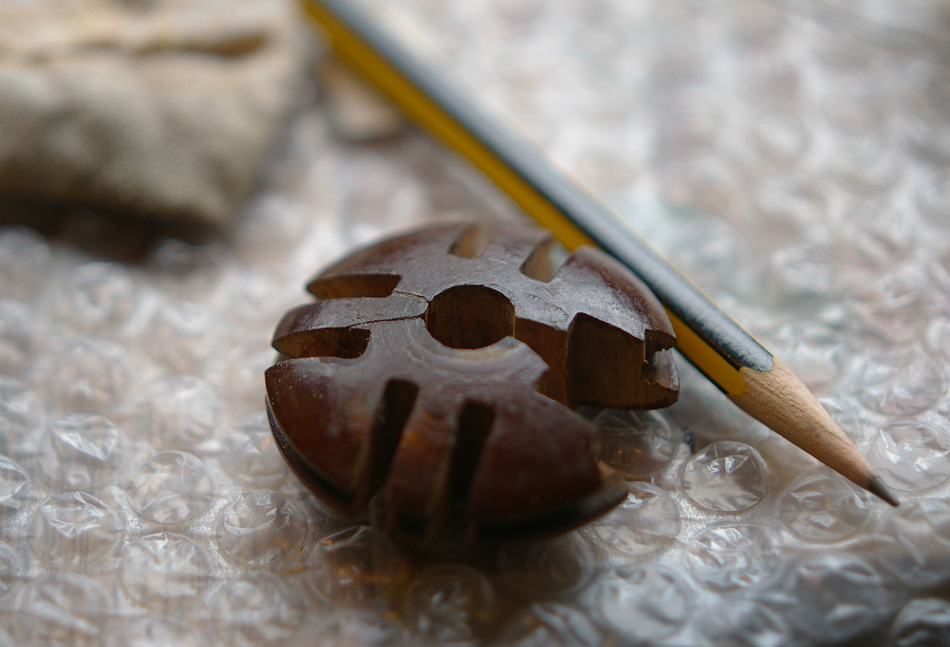
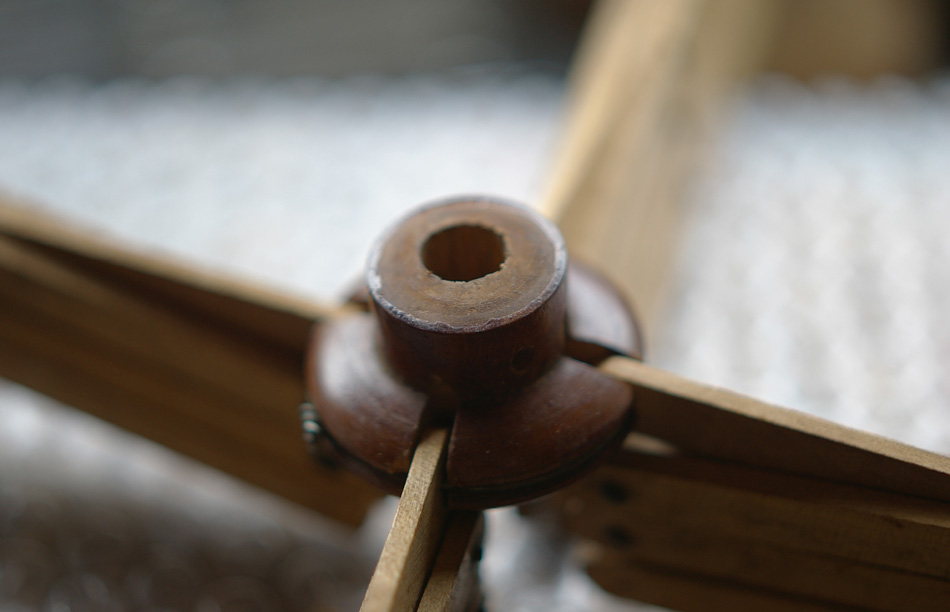
This little piece was one of two “hubs” from which the extendable arms radiate; if this piece doesn’t have integrity and strength, the whole object is useless. Luckily, Tonia knows a thing or two about wood. We examined the piece together and she explained that glueing it back together with little bits of found wood (my idea!) would not be as good as finding a skilled wood turner and having a new component fashioned from scratch. I emailed The Berkshire Woodturners, asking if anyone in the group might be interested in taking on a commission to repair a vintage swift. I got a message back, saying that I should bring it along to a meeting, and show it to some of the wood turners.
Watching the woodturners discussing the construction of the swift and possible strategies for its repair was reminiscent of watching knitters examining knitwear. Just as the knitters I know might discuss yarn-types and techniques, the woodturners at the meeting all talked about different wood-types, and about both the means by which the swift had been made, and how they might approach the task of mending it. In the end, Nigel Griffiths kindly agreed to create a new component for me, and invited me to come along to his house to watch – and make a sound recording of – the process. I was so excited to realise that the repair of the swift could develop a KNITSONIK dimension!
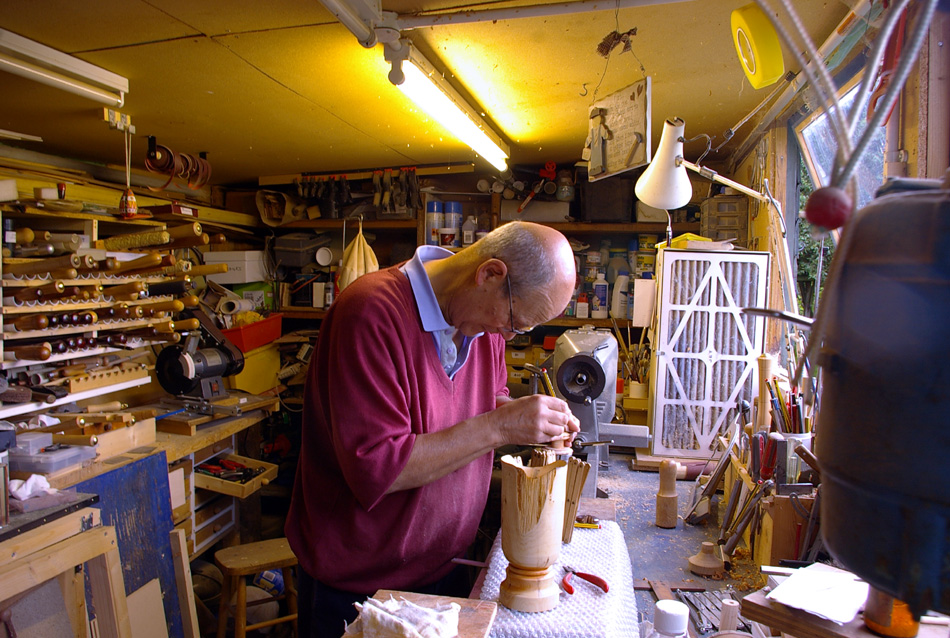
Nigel has an amazing shed, with all the different things he needs for wood-turning meticulously organised. I love customised craft spaces, where everything is arranged according to necessity and the working patterns of the maker who works there. The aesthetic of utility and invention which governs such spaces is my favourite aesthetic. What a great making space!
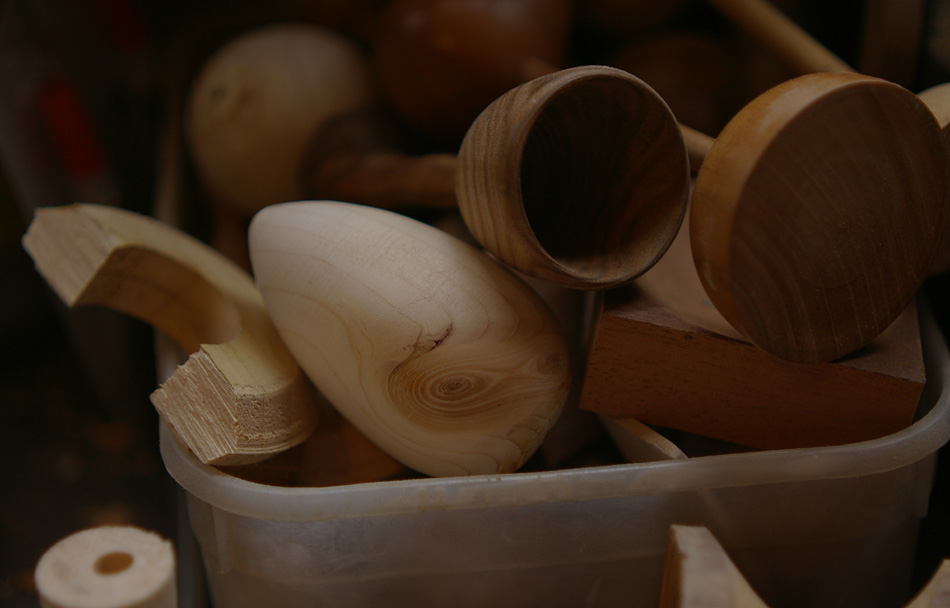
Turned objects, rounded surfaces sanded to different levels of smoothness, and the smell of wood, are everywhere in the shed.
The shed is both an active, practical workspace and a homage to the Nigel’s material of choice – wood. Nigel decided that ash would be the right material for making a replacement piece for the swift, and explained carefully how the grain of the wood affects its strength. Warming to his subject, he demonstrated how the direction of the grain in a piece of wood affects its strength, and contemplated ways of strengthening the little disc at the top of the swift so that where the cuts were running along the grain would be less inherently weak and inclined to snap. In the end, Nigel decided to give the replacement piece a sort of stem to make it stronger, effectively copying the disc at the bottom of the swift.
You can see the weak spots here, where the wood in the original piece has snapped.
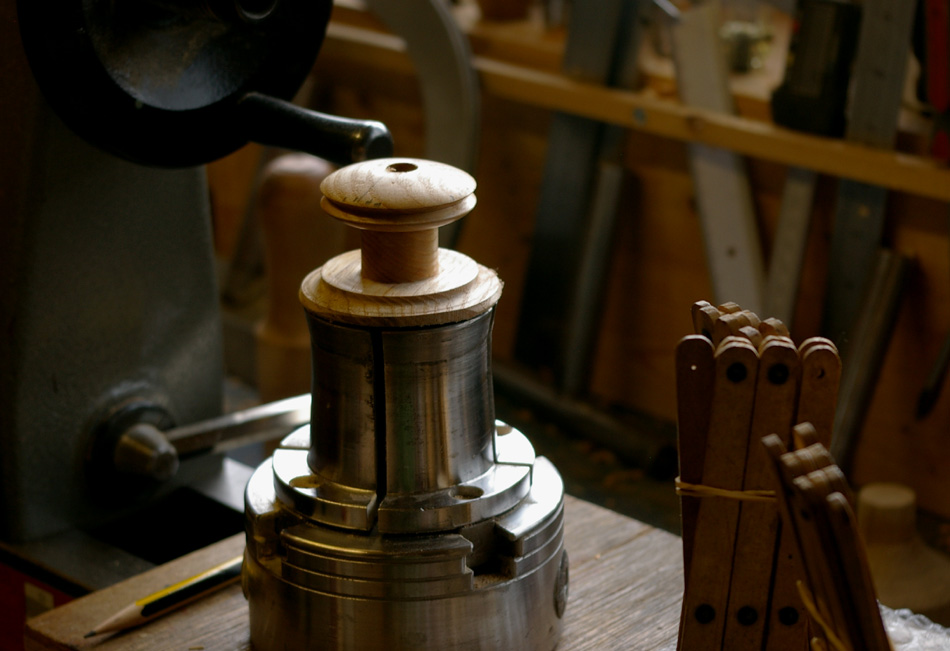
The stem in this turned piece of wood gives it strength so that it is less inclined to snap.
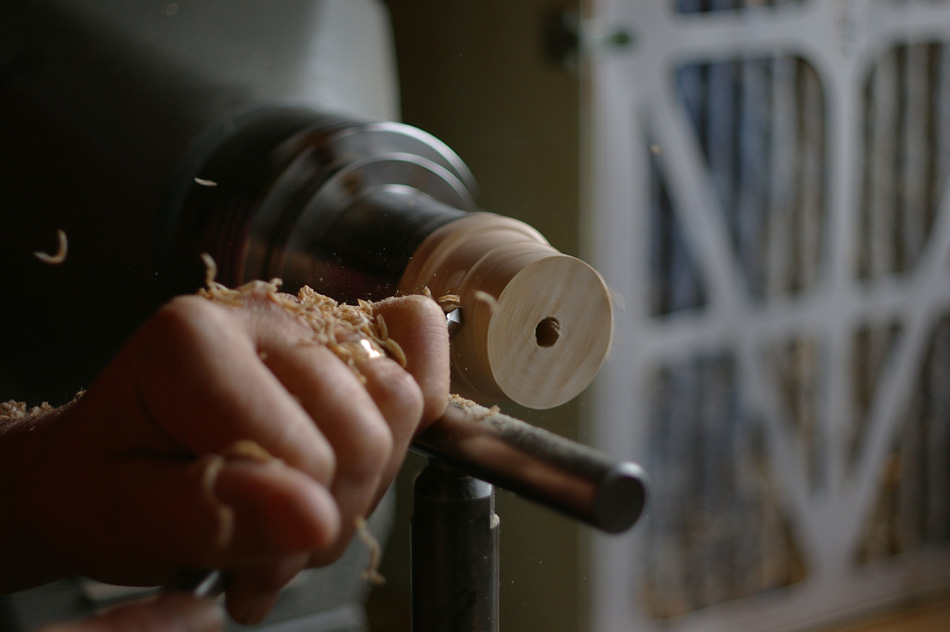
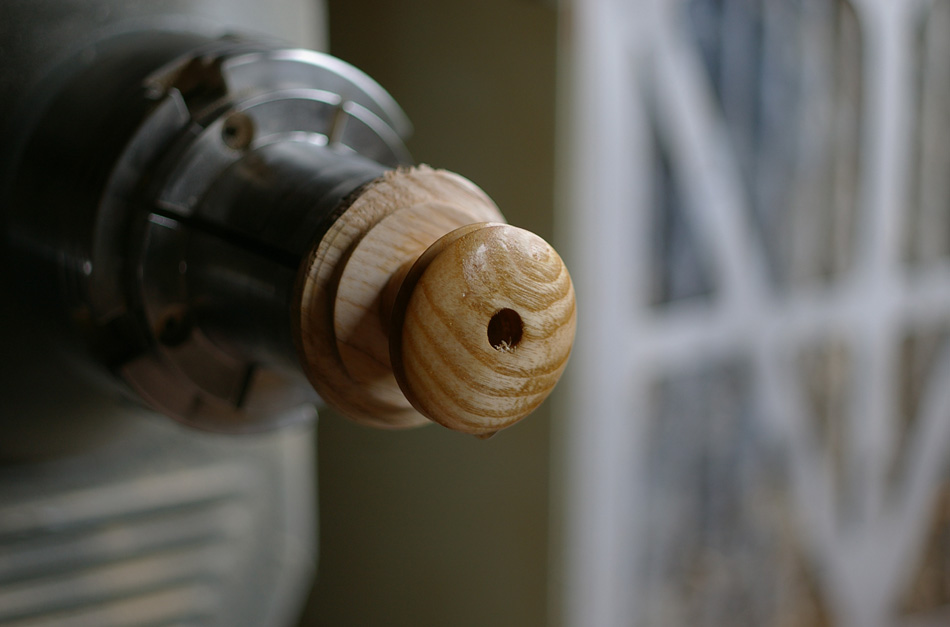
Nigel mounted a little chunk of ash on his lathe, and a new component began to take form!
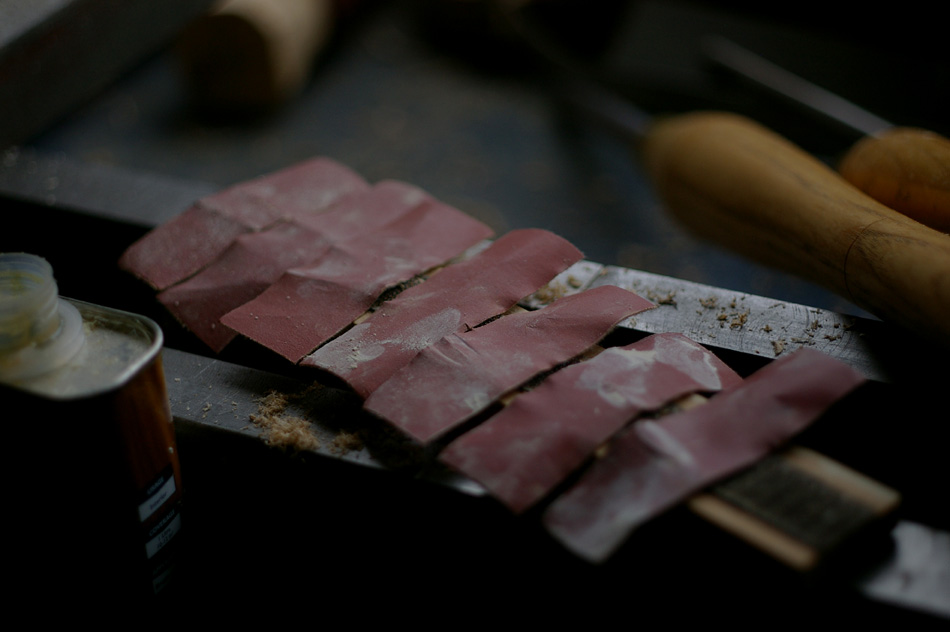
Different grades of sandpaper smoothed the piece to a velvety finish.
Adding some soft oil to the piece sealed it, and emphasised the grain inside the piece of wood.
Nigel asked me if I wanted him to stain the piece so that it matched the rest of the swift, but I said that I preferred for it to be obvious that this was a new addition – an integral chapter to the story of the object and its history. “I like that,” said Nigel, and I told him all about my friend Tom’s Visible Mending Programme. This prompted a lovely conversation about things and what the examination of things reveals about their makers.
Nigel explained that the original creator of the swift must have cut all the small pieces of wood for the extending arms using a jig, and that all of these pieces had then been attached to one another using tiny nails, which were then cut and tapped flat so that they wouldn’t come out. He speculated that the little decorative piece at the very top of the swift was probably made from boxwood, and appreciated the SKILLZ of whomever made the swift in the 1950s or perhaps even earlier.
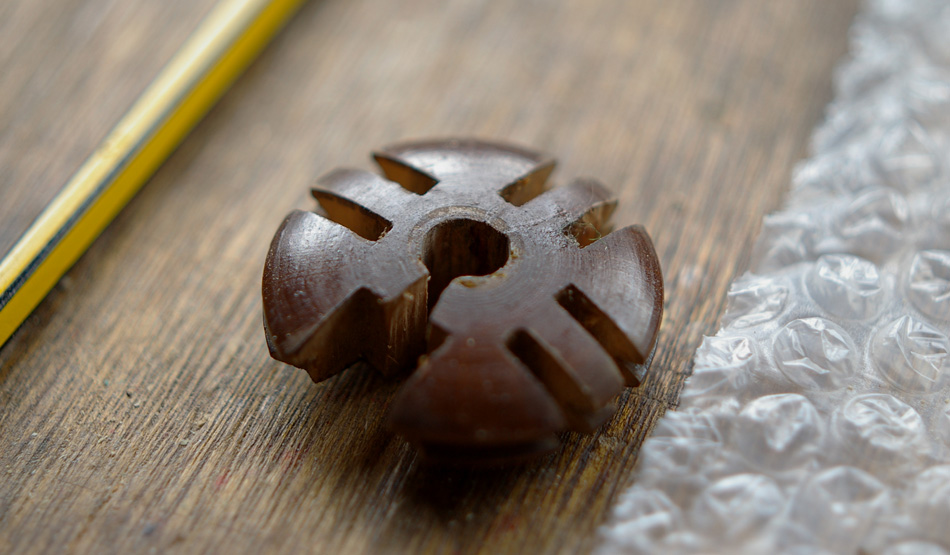
Once Nigel had formed a perfect disc with a groove running around its circumference, (for the wire that holds it all together) it was time to cut notches all around it for the extending arms to sit within. Nigel carefully marked where these should go, using the original piece as a template.
Once this was done, the only thing to do was to thread some wire through the tops of the arms and through the groove around the disc, to pull it tight, and to thus assemble the swift.
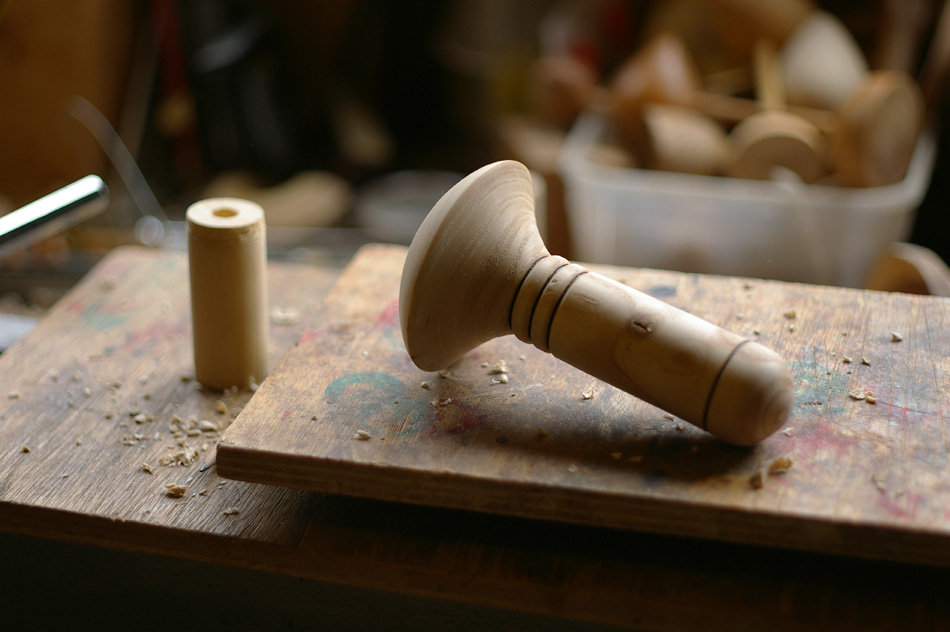
It all went together like a dream! But then Nigel surprised me; all our talk about mending and repairing had inevitably touched on the art of darning. In a few moments, I had a new darning mushroom!
When I got home, I immediately took a little skein of yarn I had spun and placed it around the swift.
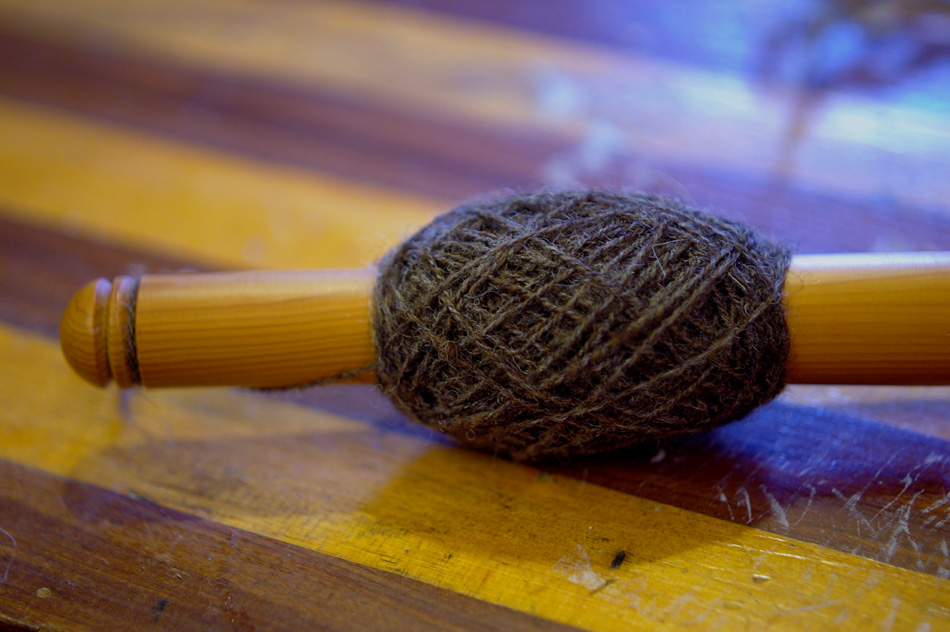
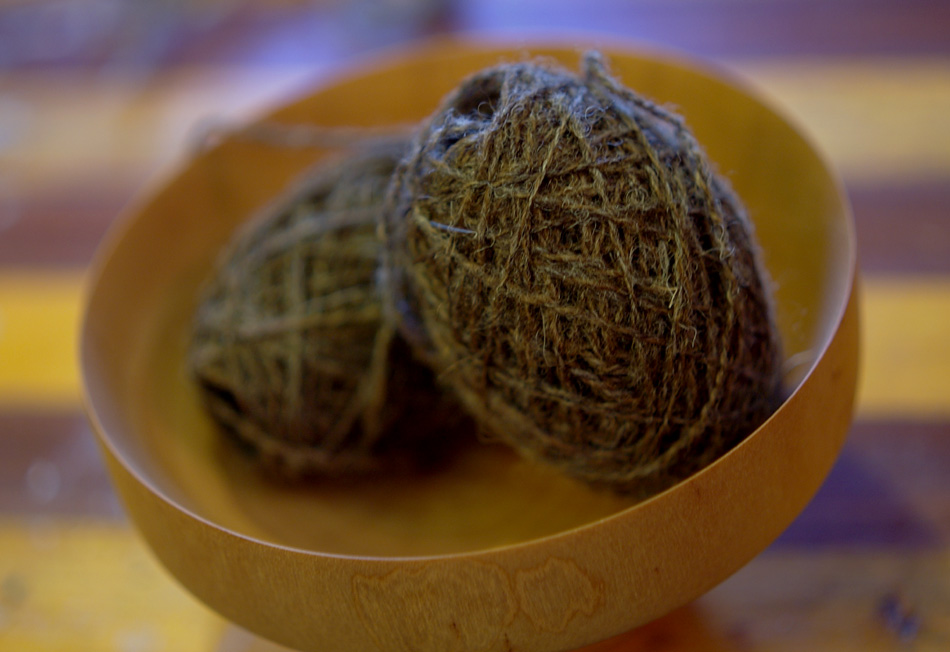
My Grandfather made the table that you can see in this photo, and the Nostepinne that I used to make lovely balls of yarn from the skeinwinder was turned by Rachael’s dad out of a piece of yew when I was staying in the Lake District in January, working on HÛRD.
Woolworkers would be lost without Woodworkers.
Without cards and combs, how could we prepare fibre?
Without spindles and wheels, how could we spin yarn?
Without swifts and nostepinnes, how could we make balls of yarn from our skeins?
Without needles, how could we knit our yarn?
And without mushrooms (or wooden eggs!) how could we darn?
I am inspired by my growing awareness of the relationship between wool and the tools that I use to turn fleece into garments. I love that like wool, wood is slow; that like wool, there are many varieties of wood to choose from, each with distinctive properties and advantages; and I love most of all that like wool, wood can be grown and managed sustainably, and that the people who work with it are passionate and skilled about the process of making with it.
Thank you SO MUCH to Nigel for skilfully giving the swift a new lease of life, and to all the woodworkers everywhere who make things for knitters! We need your SKILLZ!
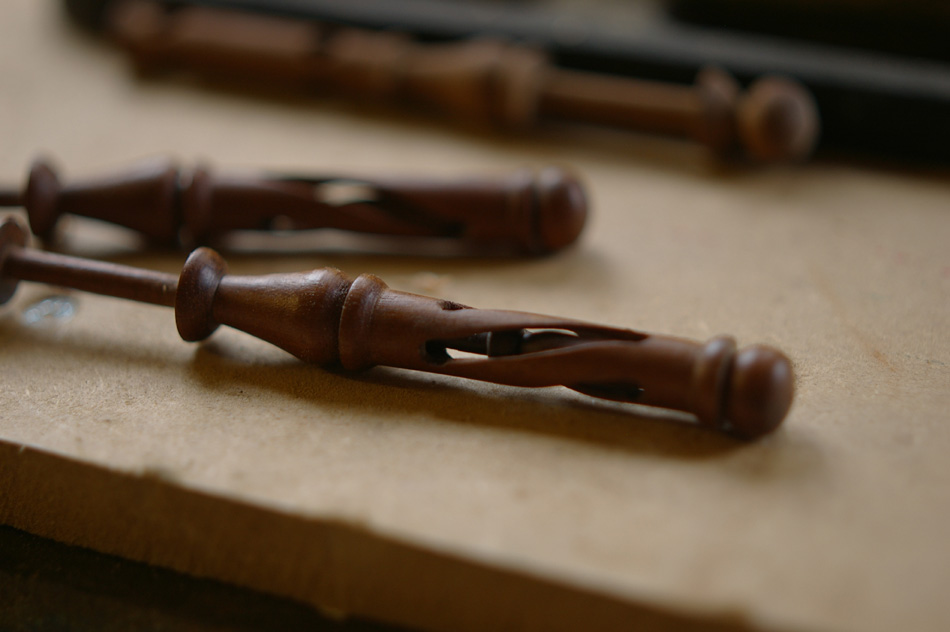
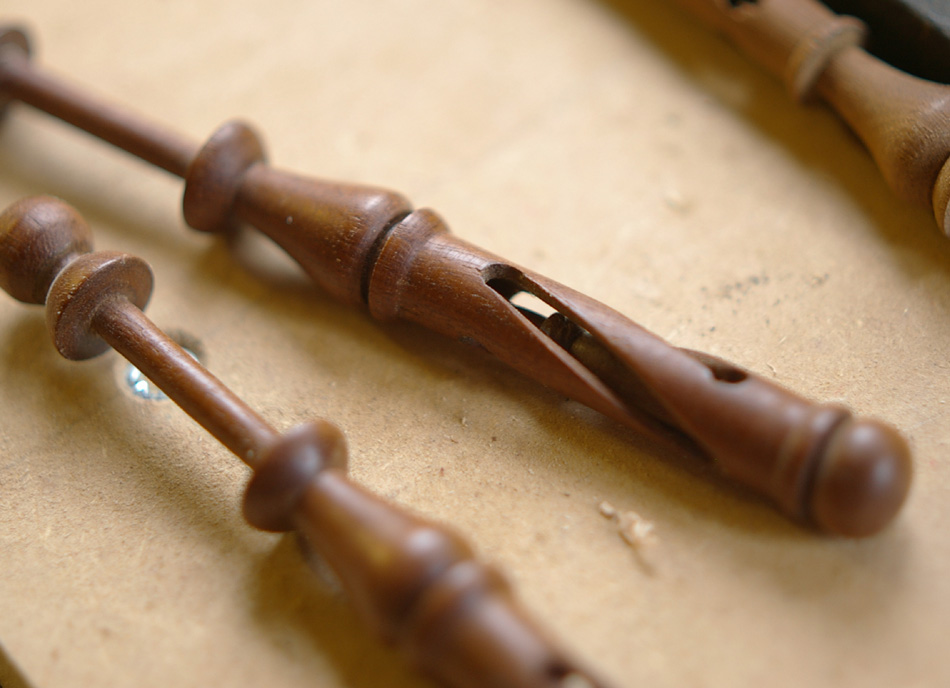
I couldn’t finish this post without showing you the mother-daughter lace bobbins that Nigel made for a competition; see the tiny lace bobbin inside the lace bobbin?
Nigel can be reached via email at nigel[at]releasingthemagic[dot]com. He explained to me that he chose the phrase because his favourite thing is identifying what a piece of wood wants to become, and unleashing that potential through his work with it. As a knitter who is getting deep into the magic of fleece, I think I understand what he means.
I’m really interested now to learn about other handmade wooden things that knitters use – do you have something carved or turned which is integral to your knitting/spinning/crochet activities?
All content © Felicity Ford and originally published on The Domestic Soundscape blog, which is where TEAM WOVEMBER member Felicity Ford hangs out during the other 11 months of the year!
